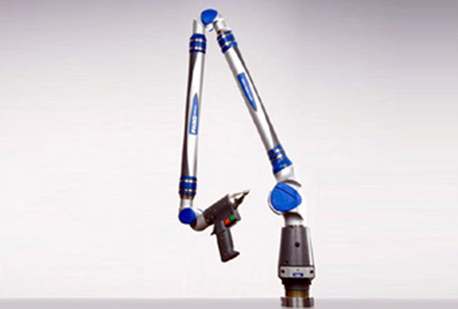
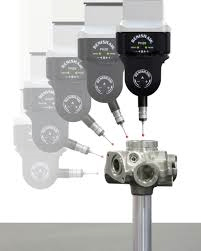
A coordinate measuring machine (CMM) is a device that measures the geometry of physical objects by sensing discrete points on the surface of the object with a probe. Various types of probes are used in CMMs, including mechanical, optical, laser, and white light. Depending on the machine, the probe position may be manually controlled by an operator or it may be computer controlled. CMMs typically specify a probe’s position in terms of its displacement from a reference position in a three-dimensional Cartesian coordinate system (i.e., with XYZ axes). In addition to moving the probe along the X, Y, and Z axes, many machines also allow the probe angle to be controlled to allow measurement of surfaces that would otherwise be unreachable.
The various parts of Coordinate Measuring Machines
- The main structure which includes three axes of motion. The material used to construct the moving frame has varied over the years. Granite and steel were used in the early CMM’s. Today all the major CMM manufacturers build frames from aluminium alloy or some derivative and also use ceramic to increase the stiffness of the Z axis for scanning applications. Few CMM builders today still manufacture granite frame CMM due to market requirement for improved metrology dynamics and increasing trend to install CMM outside of the quality lab. Typically only low volume CMM builders and domestic manufacturers in China and India are still manufacturing granite CMM due to low technology approach and easy entry to become a CMM frame builder. The increasing trend towards scanning also requires the CMM Z axis to be stiffer and new materials have been introduced such as ceramic and silicon carbide.
- Probing system
- Data collection system and reduction system — typically includes a machine controller, desktop computer and application software.
Physical Principle behind CMM
Optical probes and/or laser probes can be used (if possible in combination), which change CMMs to measuring microscopes or multi-sensor measuring machines. The measuring result is the same: a space point. Laser probes are used to detect the distance between the surface and the reference point on the end of the kinematic chain (i.e.: end of the Z-drive component). This can use an interferometrical function, focus variation, light deflection or a beam shadowing principle.


